Your First Web Component with Polymer
I spent most of last week at Google I/O getting an overview of the next generation of Android and web development. One of the most exciting new announcements were updates to the Polymer project.
A good (well, ok, actually terrible… but good for demonstration purposes) idea would be to re-implement a
<blink/> tag using web components. The source code that accompanies this tutorial is available
here, and you can find a live demo
here.
Creating our web component template with Yeoman
Yeoman is a tool that generates code to start out different kinds of projects. In this tutorial, we’ll be using it to put together the scaffolding for our first web component with Polymer.
You can install Yeoman from npm using:
npm install -g yo
Then install the generator for Polymer web components
npm install -g generator-polymer
Normally, I keep all my projects in the root of my ~/Workspace directory, but Polymer components want to live in
their own sandbox because they install their bower dependencies relative to the directory above them, so I use
~/Workspace/polymer-elements. Choose your own Polymer web components working directory, create a new directory for
our web component, and init with Yeoman. This will ask you for some details, particularly what you’d like to name your
polymer custom web component. Since <blink/> is reserved, for the purposes of this tutorial we’ll call ours
<polymer-blink/>.
cd ~/Workspace/polymer-elements
mkdir polymer-blink
cd polymer-blink
yo polymer
When Yeoman has finished you will have a directory structure that looks like this:
tree .
.
├── README.md
├── bower.json
├── demo.html
├── index.html
├── polymer-blink.css
└── polymer-blink.html

0 directories, 6 files
Afterwards, run bower install to set the project’s dependencies, cd into the parent workspace, and run a simple
Python http server:
bower install
cd ..
python -m SimpleHTTPServer
You should keep this running for the rest of the tutorial. By default this starts a webserver at
http://localhost:8000. You should be able to navigate to http://localhost:8000/polymer-blink to see a preview of
the autogenerated documentation for your web component:

Similarly, the demo.html file provides us with a few of what our web component will look like when embedded on a page:

Cool! Now let’s start to put some customized functionality into our web component.
Building out the web component
Our demo page was pretty boring because we haven’t yet defined any logic, styling, or templating to describe how
it should behave. The polymer component is defined mostly in the polymer-blink.html file. Let’s take a peek into what
this looks like (comments/whitespace emitted for brevity):
<link rel="import" href="../polymer/polymer.html">

<polymer-element name="polymer-blink" attributes="notitle">
  <template>
    <link rel="stylesheet" href="polymer-blink.css" />
    <content></content>
  </template>

  <script>
    Polymer('polymer-blink', {
    });
  </script>
</polymer-element>
The web component template
Inside the <polymer-element/> the <template/> tag defines the content/markup that will be put into the shadow DOM
for the web component.
If we add something to the template, it will be added to the rendered version of our <polymer-blink/>
element. So let’s put in some text and refresh our demo page at http://localhost:8000/polymer-blink/demo.html to
see what happens:
  <template>
    <link rel="stylesheet" href="polymer-blink.css" />
    <content></content>
    This is some static text in our element
  </template>

You can also fill out custom HTML elements if you’d like. The <content/> part of the template will insert the body of
the web component into the space (this is similar to AngularJS’ concept of
transclusion). Let’s say we change the content of the
<polymer-blink/> tag in our demo.html page to include some content:
<body unresolved>
  <p>An `polymer-blink` looks like this:</p>
  <polymer-blink>I'm blinking!</polymer-blink>
</body>

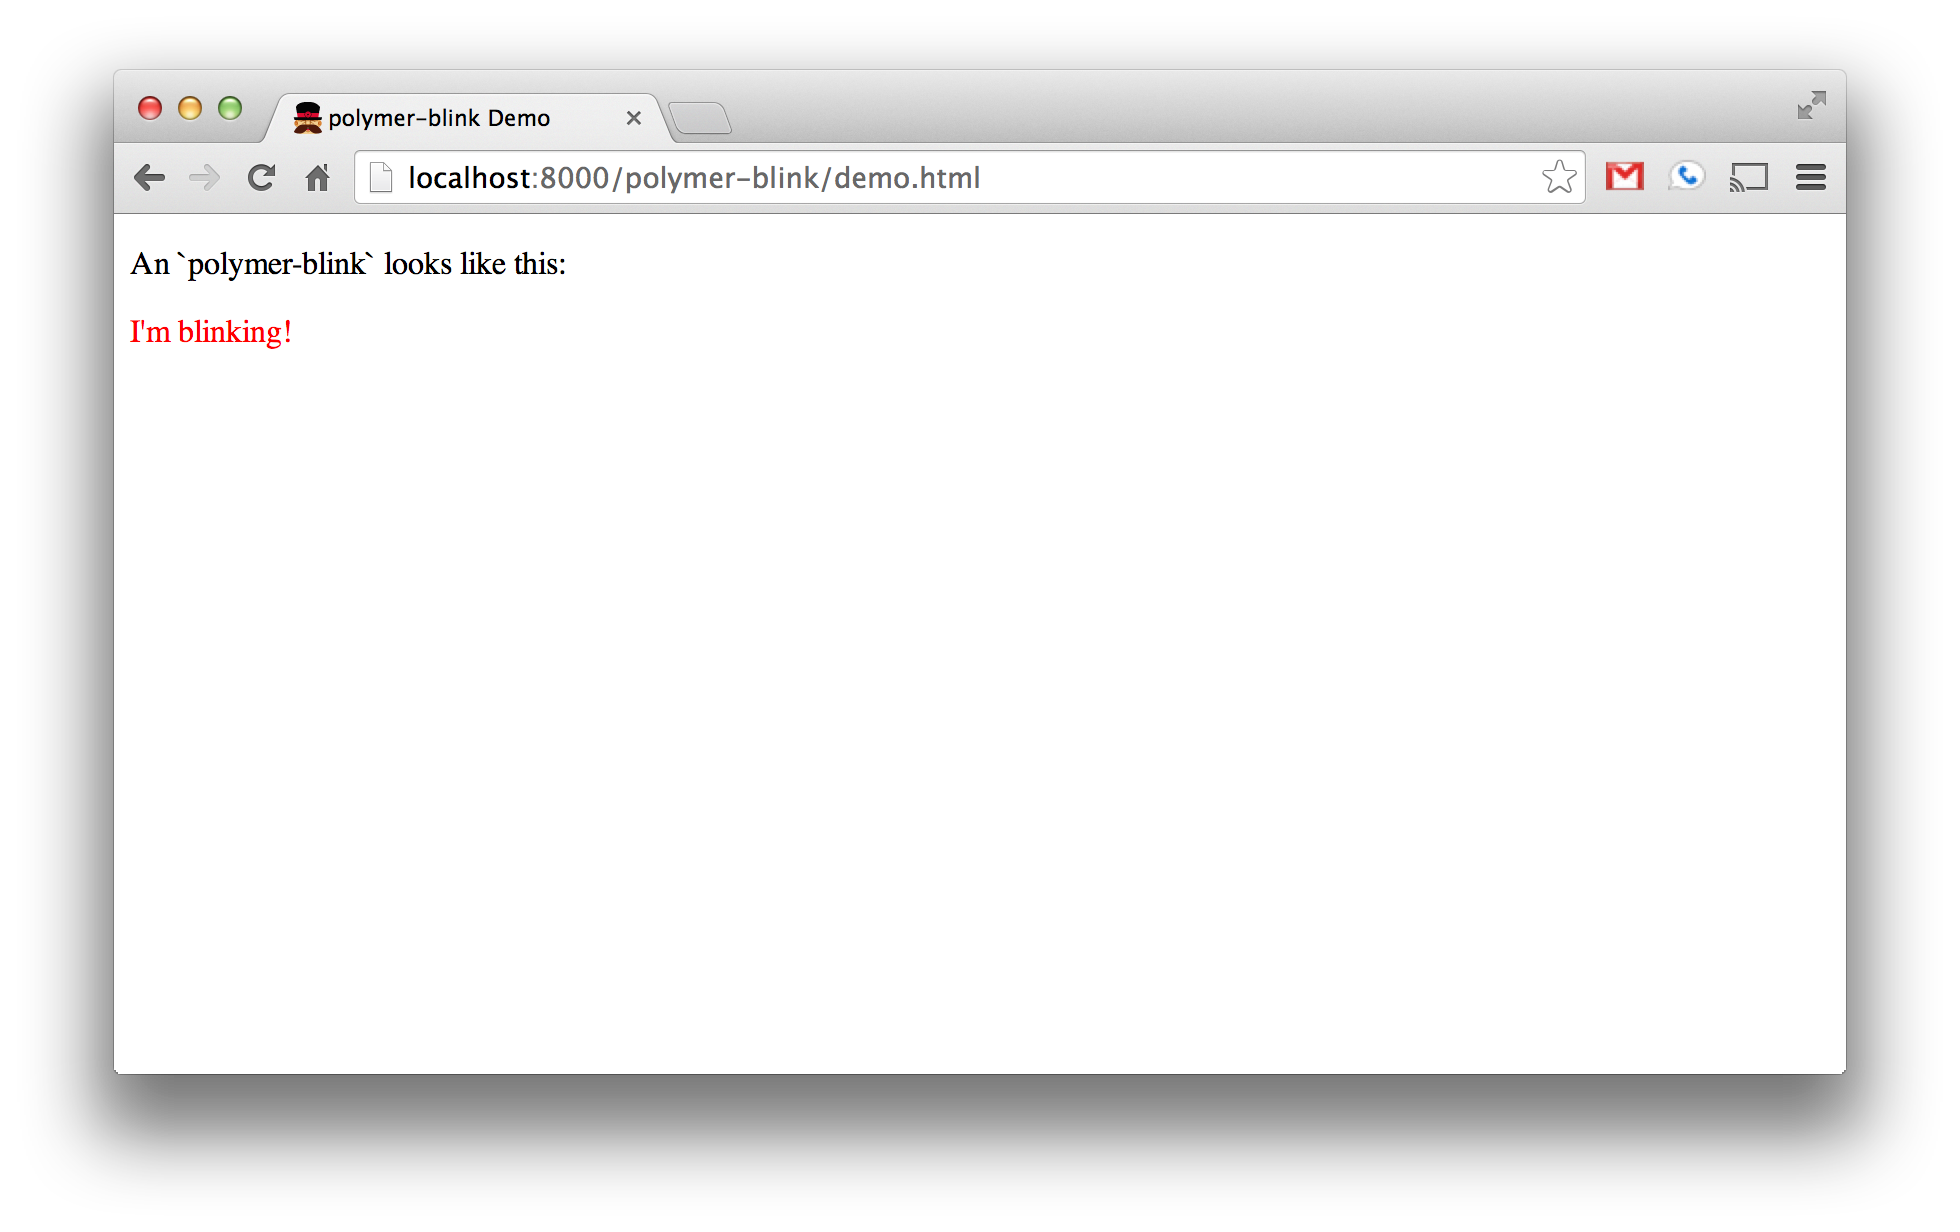
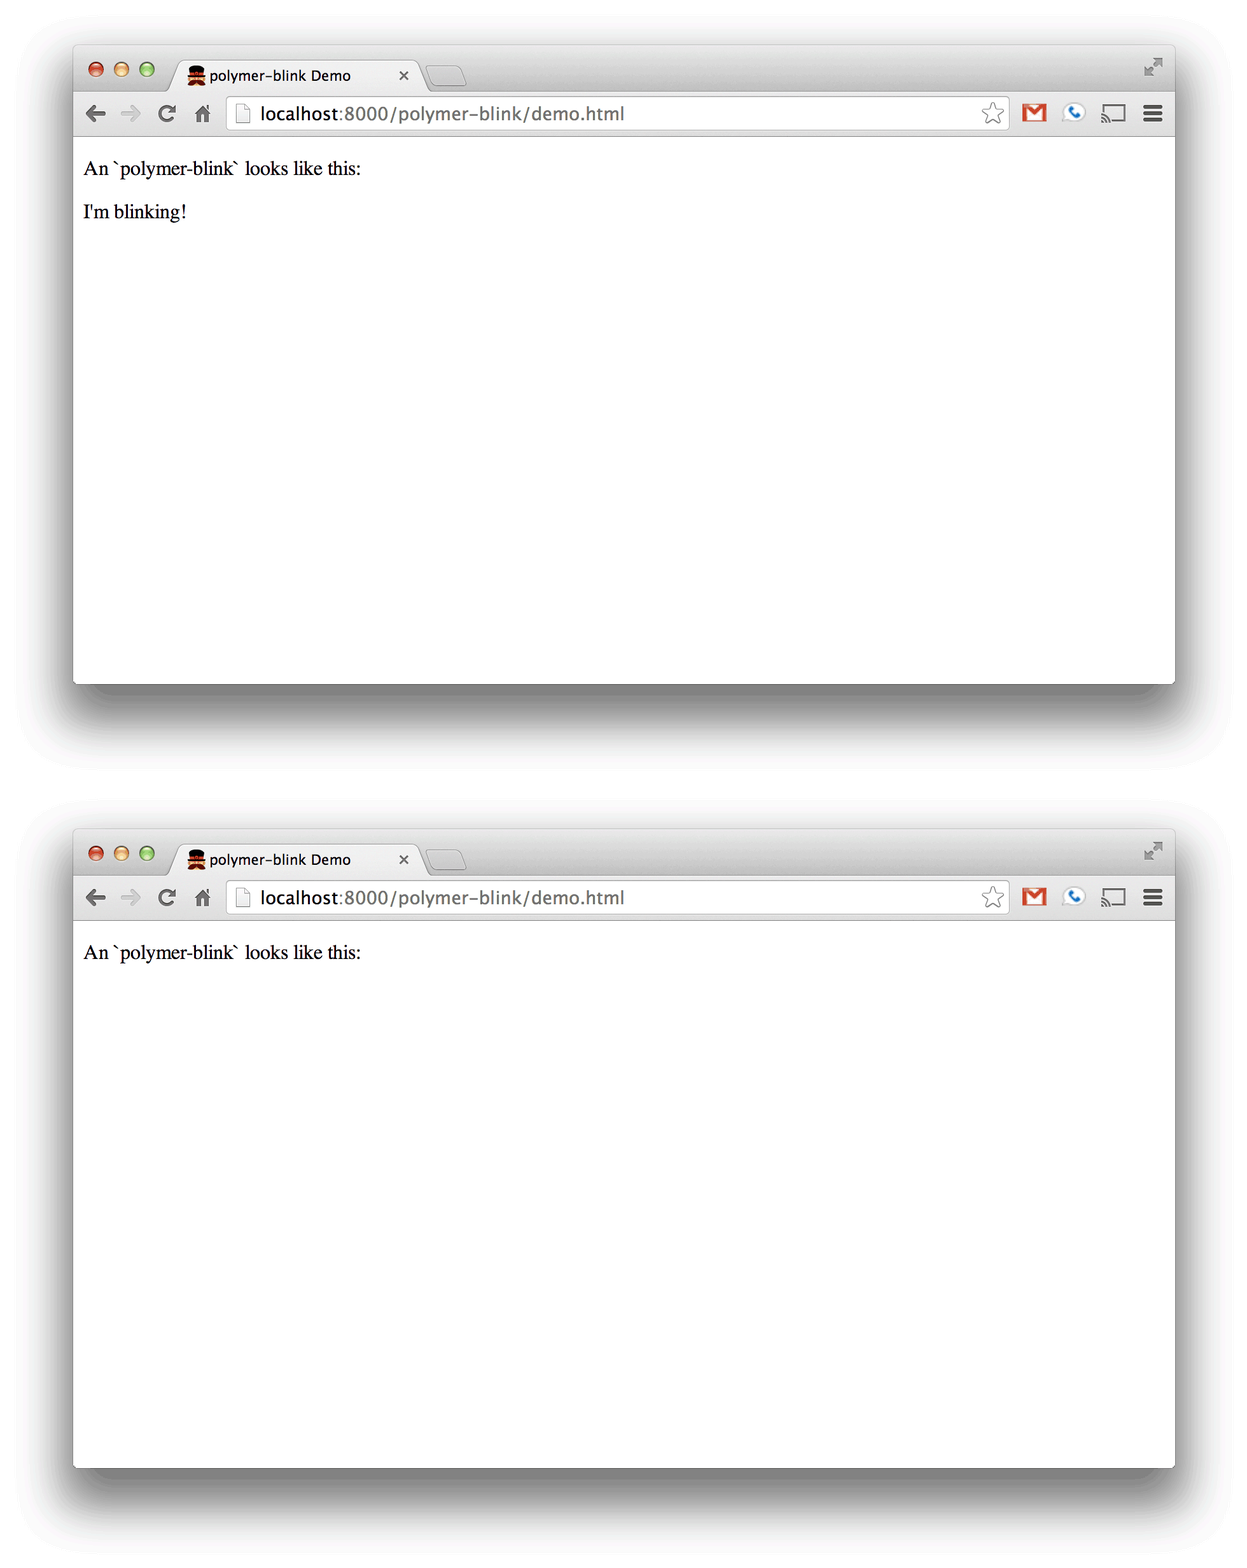
The content we defined inside of the <polymer-blink/> tag is added to the <content/> tag inside the <template/>.
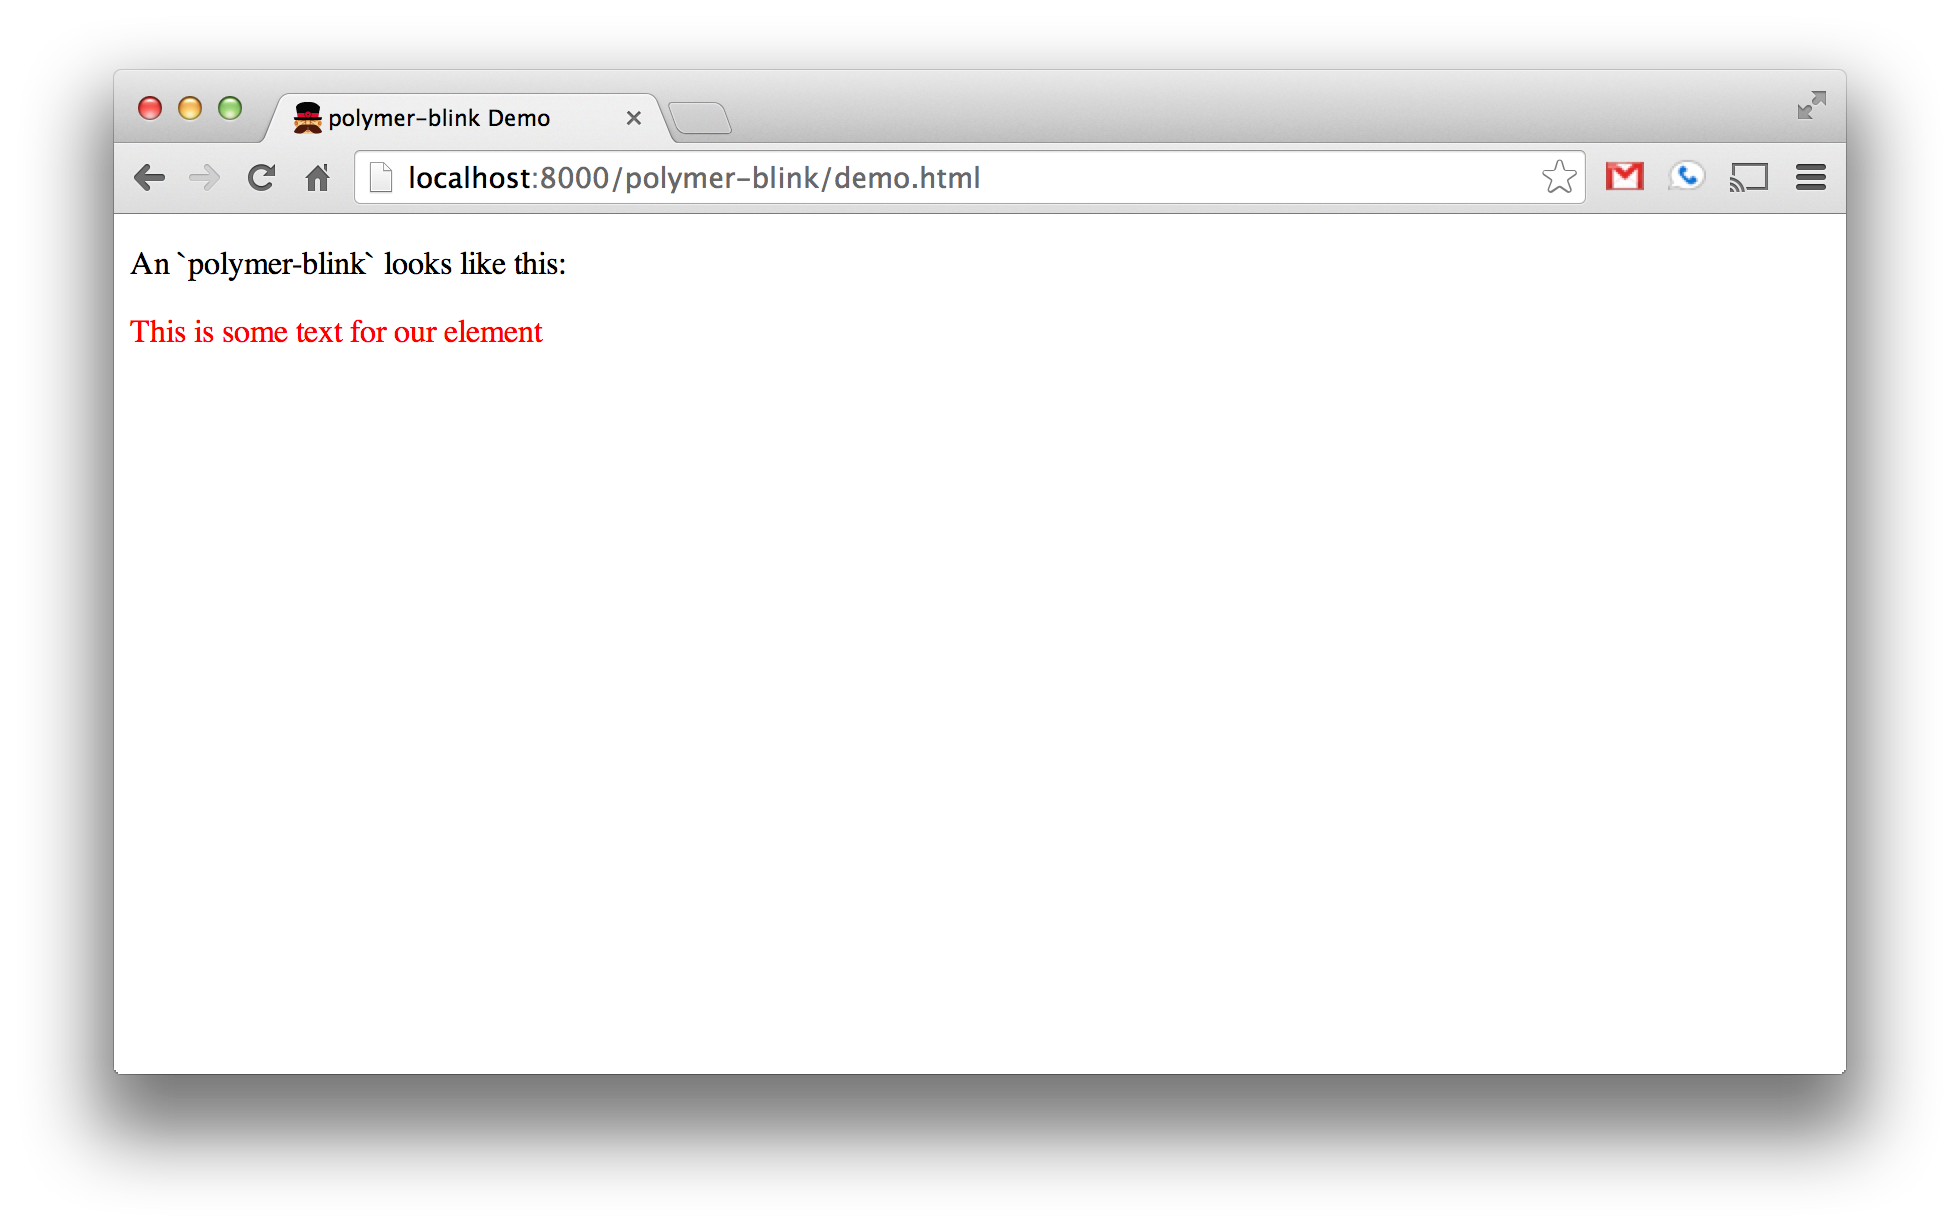
Notice that the text is red. This is because we’re importing polymer-blink.css in our template. The contents of that
file look like this:
:host {
  display: block;
  color: red;
}
The :host element is a selector which marks the root of the template. It’s sort of like you’d imagine a body
selector applies to the entire document, but it’s scoped specifically to our web component.
In our case we’ll get rid of this because we don’t need any specific styling for our <polymer-blink/> tag. We’ll also
clear out the template, aside from the <content/> placeholder, because we’ll want to simply put the content of our
tag into the shadow DOM directly:
<template>
  <content></content>
</template>
Making it Blink
You may have noticed that the polymer-blink.html file also includes some Javascript:
 <script>
    Polymer('polymer-blink', {
    });
  </script>
This is where you can inject any necessary Javascript into your Polymer component. In our case, we want the text to
blink, and we do this by toggling on-and-off the css visibility attribute between visible and hidden, at an
interval of every 250 milliseconds. We want to do it when the document has finished loading, so we can use this:
Polymer('polymer-blink', {
  domReady: function() {
    var self = this;
    setInterval(function() {
      self.style.visibility = (self.style.visibility === 'hidden') ? 'visible' : 'hidden';
    }, 250);
  }
});

The Polymer documentation outlines all sorts of other attributes you can pass in the parameter object aside from just
domReady, so it’s worth looking over these to see what other kinds of things you can do.
Testing
Aside from testing being an important best practice, my good friend John Paul would never use my web component, which would break my heart, if it wasn’t fully unit tested.
Test depenedencies
We’ll have some test-specific dependencies required to get things up and running, so let’s add polymer-test-tools,
mocha, and sinon to the devDependencies section of our bower.json file as follows:
{
  "name": "polymer-blink",
  "version": "0.0.0",
  "keywords": "seed, polymer, web-components",
  "main": "polymer-blink.html",
  "dependencies": {
    "polymer": "Polymer/polymer#~0.3.1"
  },
  "devDependencies": {
    "polymer-test-tools": "Polymer/polymer-test-tools#master"
    "mocha": "~1.14.0",
    "sinon": "http://sinonjs.org/releases/sinon-1.10.2.js"
  }
}
Here’s a better explanation of what, exactly, these things do:
polymer-test-tools- Polymer has test tools project which includes some niceties for working with unit tests.mocha- Mocha is the testing framework we’ll be using to test our web component.sinon- Sinon is a library for spies, stubs, and mocks. Since our web component relies on certain events to occur based on timing, we’ll utilizesinonto help us mock out the browser’s clock.
Run bower install to grab the newly added test dependencies for the project.
Writing our unit test
Create a tests directory inside polymer-blink to house our tests, and define a polymer-blink-tests.html file to
use for the unit test. Paste the following into the file:
<!doctype html>
<html>
<head>
  <title>polymer-blink</title>
  <link rel="import" href="../../polymer-test-tools/tools.html">
  <script src="../../platform/platform.js"></script>
  <script src="../../polymer-test-tools/htmltest.js"></script>
  <script src="../../sinon/index.js"></script>
  <link rel="import" href="../polymer-blink.html">
</head>
<body>

  <polymer-blink></polymer-blink>

  <script>
    var clock = sinon.useFakeTimers();
    document.addEventListener('polymer-ready', function() {
      var element = document.querySelector('polymer-blink');
      clock.restore();
      done();
    });
  </script>
</body>
</html>
The head section of this file is importing a bunch of important dependencies for our project.
polymer-test-tools/tools.htmlandpolymer-test-tools/htmltest.jsfiles are file dependencies from the test tools projectsinon/index.jsloads in Sinonplatform/platform.jsloads the Polymer platformpolymer-blink.htmlimports our web component
We also define a <polymer-blink/> element in the markup in the <body/> so that we can observe and interact with it
in our test.
The <script/> tag is the piece that actually performs our test.
First, we stub out the browser’s clock using sinon’s useFakeTimers method, saving it to a clock variable. Next, we
wait until the polymer-ready event has been fired in the browser. This event signals that all the web components
handled by Polymer have been registered and upgraded to use the shadow DOM, so it’s important to wait for this event
before we start trying to test anything. Afterwards, we restore the browser’s clock using clock.restore (in case any
subsequent tests depend on a non-stubbed version of the clock), and call Mocha’s done method to signify the end of
the test.
We need to call done because we’re running our test asynchronously after waiting for the polymer-ready
event. If we took out the done call, the test would end prematurely in a false positive, because the runner would not
know to wait for the polymer-ready event.
With all the appropriate setup in place, we can write the actual unit test for our component:
<script>
  var clock = sinon.useFakeTimers();
  document.addEventListener('polymer-ready', function() {
    var element = document.querySelector('polymer-blink');
    assert.equal(element.style.visibility, '');
    clock.tick(250);
    assert.equal(element.style.visibility, 'hidden');
    clock.tick(250);
    assert.equal(element.style.visibility, 'visible');
    clock.restore();
    done();
  });
</script>
It’s fairly simple: we ensure that the element’s visibility property is blank to start, changes to 'hidden' after 250
milliseconds, and then switches to 'visible' after another 250 milliseconds.
Create tests/tests.html with the following to define a test suite to include our polymer-blink-test:
<link rel="import" href="../../polymer-test-tools/tools.html">
<script src="../../polymer-test-tools/mocha-htmltest.js"></script>

<script>
  mocha.setup({ui: 'tdd', slow: 1000, timeout: 5000, htmlbase: ''});

  htmlSuite('polymer-blink', function() {
    htmlTest('tests/polymer-blink-tests.html');
  });

  mocha.run();
</script>
Looks fine, but how do we actually run the test? We’ll need to define a test runner that we can access within our browser.
Setting up the test runner
Create a runner.html file in the component root to define the overall scaffolding for the web component’s
tests. This should look like this:
<!doctype html>
<html>

  <head>
    <title>Polymer Blink Test Runner</title>
    <meta charset="UTF-8">
    <script src="../platform/platform.js"></script>
    <link rel="import" href="tests/tests.html">
  </head>

  <body>
    <div id="mocha"></div>
  </body>

</html>
We pull in the Polymer platform.js file so that the test runner uses Polymer, define a #mocha div for the test
results to render into, and most importantly import our tests.html file which contains the test suite.
A note on Cross Origin Requests and file://
You might think, at this point, you’d be able to just open the runner.html file in a browser and see the tests
running. Unfortunately, if you try this you’ll be met with the following error:
XMLHttpRequest cannot load file:///tests/tests.html. Cross origin requests are only supported for HTTP.
This means that using a link to include an HTML file is not supported using the file:// protocol. For this reason,
it’s important to access the runner.html file through a web server, so that we can utilize http:// instead of
file://.
Running the test
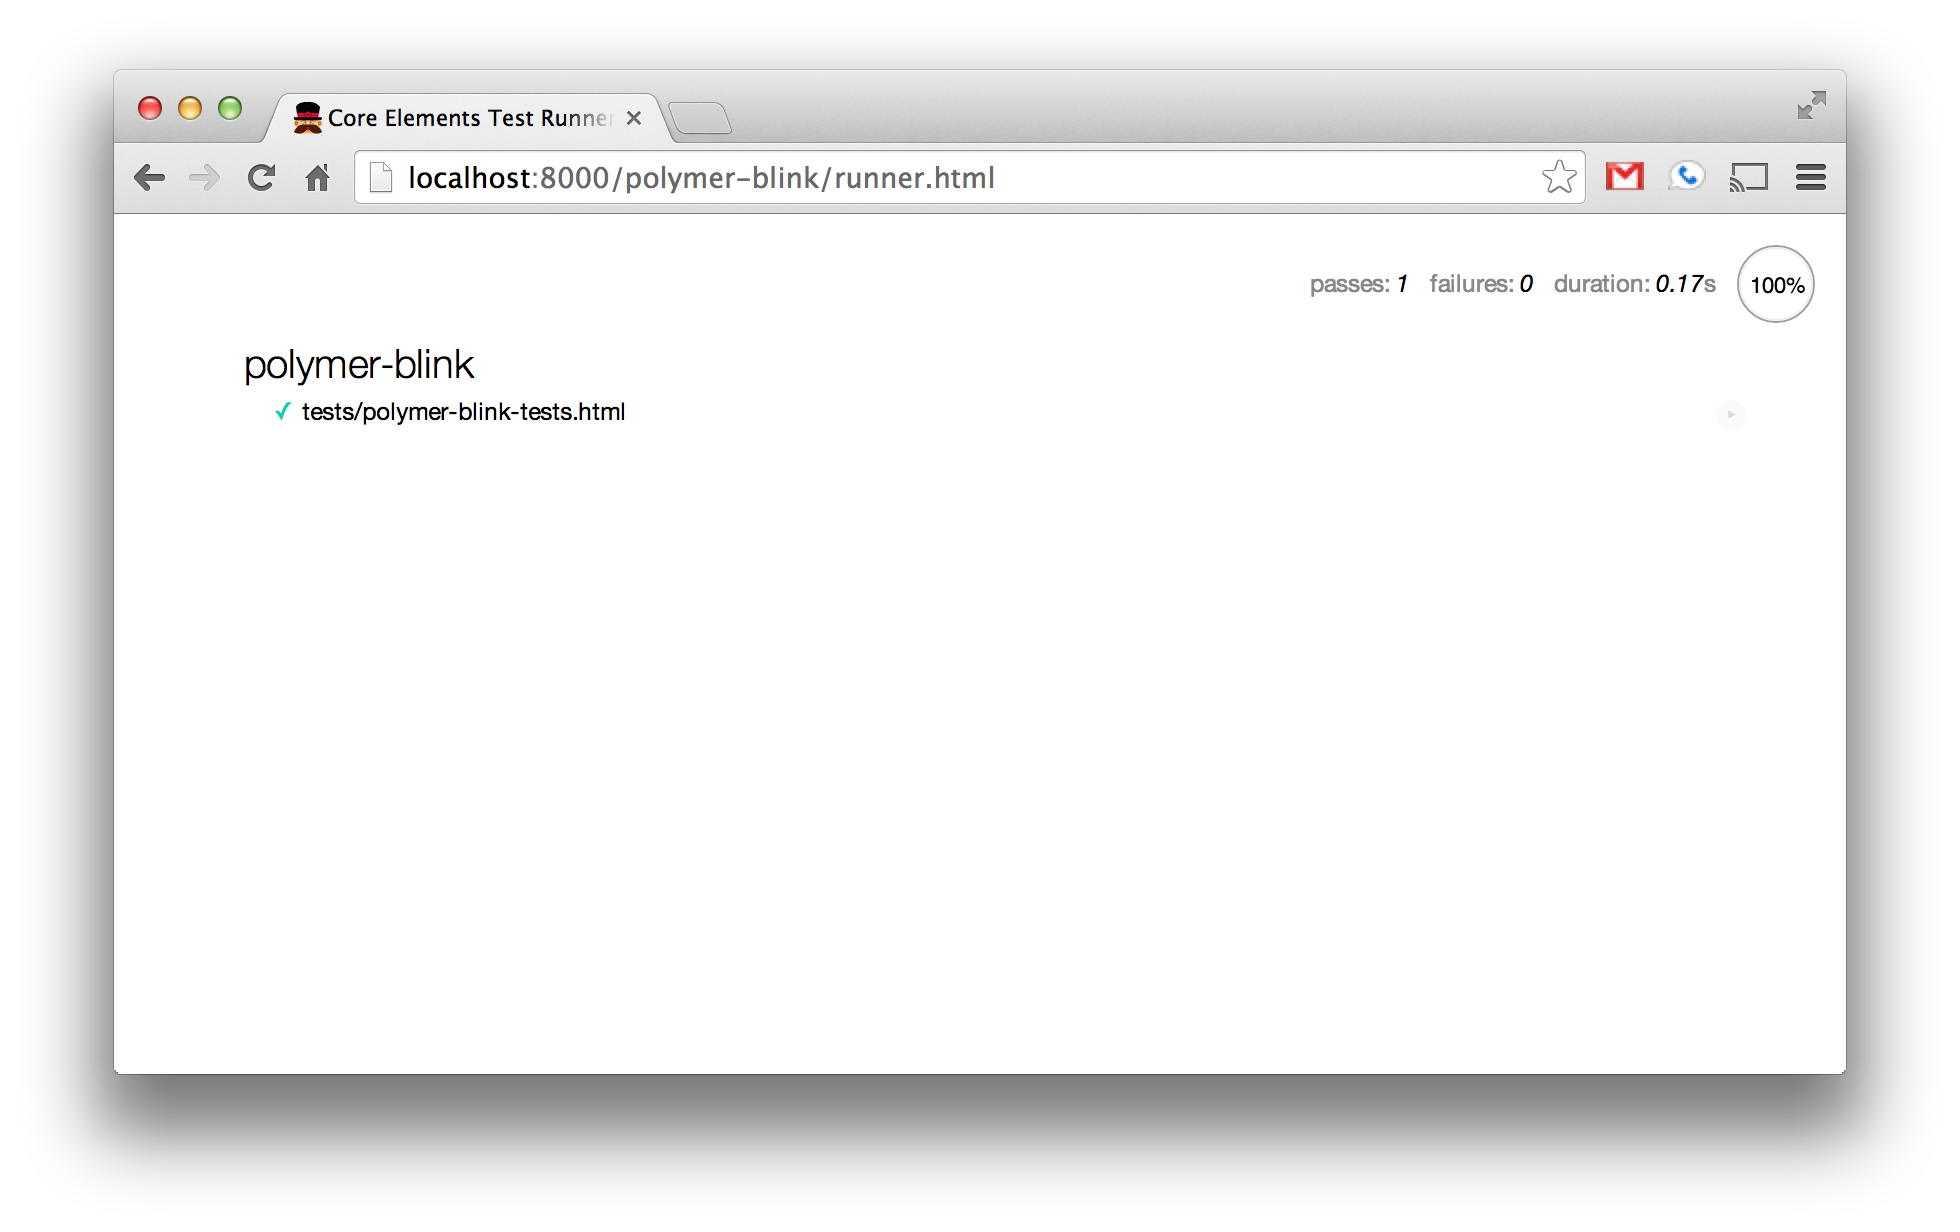
Assuming you’ve still got your Python web server running, you should be able to navigate to
http://localhost:8000/polymer-blink/runner.html and see the test run successfully:

That’s it! Congratulations on defining your first Polymer web component!